
Installation Guide for Aluminum Composite Panels: Steps and Tips
Aluminum Composite Panels (ACP) are popular in modern construction due to their durability, versatility, and aesthetic appeal. Installing ACP correctly ensures that they perform well and look great for years. Here’s a step-by-step guide to help you install ACP effectively.


Tools and Materials Needed
Before starting the installation process, gather the necessary tools and materials:
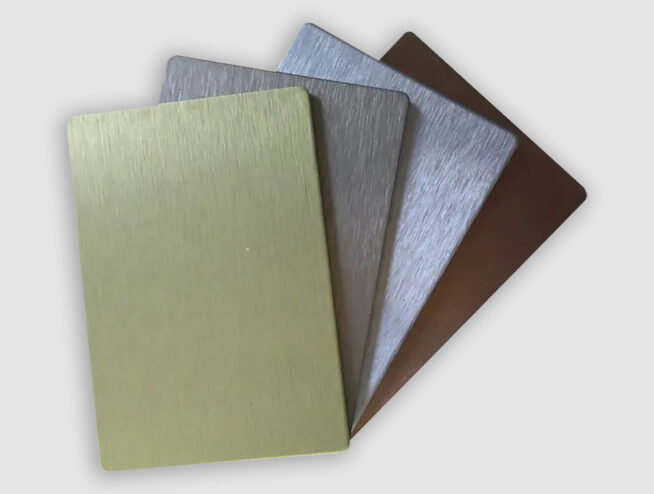
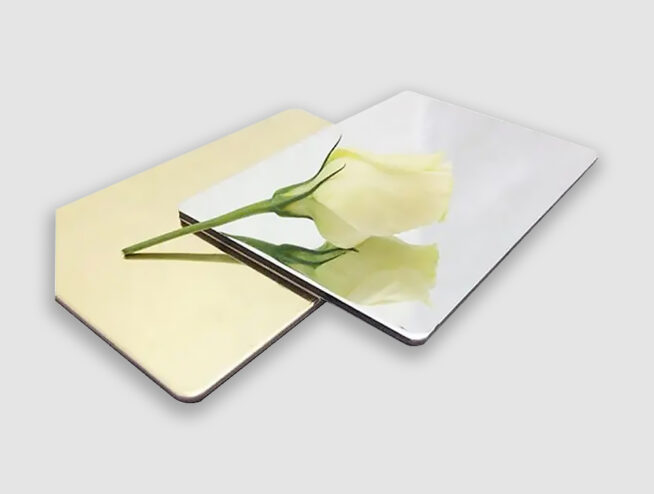
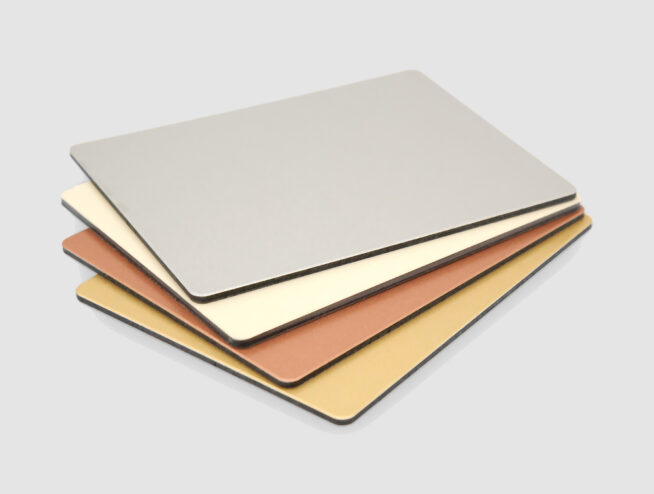
- Aluminum Composite Panels (ACP)
- Measuring tape
- Level
- Drill and drill bits
- Screws and anchors
- Rivets (optional)
- Adhesive (if needed)
- Saw or cutter for ACP
- Safety gear (gloves, goggles)
Step 1: Preparation
Site Inspection
Begin by inspecting the installation site to ensure it is clean, dry, and structurally sound. Address any surface irregularities, such as cracks or holes, as these can affect the installation process.
Measure and Plan
Accurate measurements are crucial for a successful installation. Use a measuring tape to determine the dimensions of the area where the ACP will be installed. Create a detailed plan, including the layout of the panels and any necessary cutouts for fixtures or fittings.
Step 2: Cutting the Panels
Using a saw or specialized cutter, cut the ACP to the required dimensions based on your measurements. Ensure the cuts are precise and clean to achieve a professional finish. Always wear safety gear to protect yourself from sharp edges and debris.
Step 3: Installing the Frame
Construct the Substructure
A sturdy substructure is essential for the secure attachment of ACP. Depending on your project, this could be a metal or wooden framework. Ensure the substructure is level and properly anchored to the building’s structure.
Attach Support Profiles
Install vertical and horizontal support profiles to the substructure. These profiles will hold the ACP in place. Use a level to ensure they are perfectly aligned.
Step 4: Mounting the Panels
Pre-Drill Holes
Pre-drill holes in the ACP and support profiles where the screws or rivets will go. This helps prevent the panels from cracking and ensures a secure fit.
Apply Adhesive (if needed)
For additional security and stability, apply adhesive to the back of the ACP. This is particularly useful for larger panels or areas with high wind loads.
Attach the Panels
Align the ACP with the support profiles and secure them using screws, rivets, or a combination of both. Start from one corner and work your way across the surface, ensuring each panel is level and properly aligned.
Step 5: Finishing Touches
Seal the Joints
Seal the joints between panels with a suitable sealant to prevent water ingress and improve the overall appearance. Choose a sealant that matches the color of your ACP for a seamless look.
Inspect the Installation
Conduct a thorough inspection of the installed ACP. Check for any misalignments, gaps, or loose fittings. Make any necessary adjustments to ensure a flawless finish.
Step 6: Cleaning and Maintenance
Once the installation is complete, clean the surface of the ACP with a mild detergent and water to remove any dirt or fingerprints. Regular maintenance involves periodic cleaning and inspection to ensure the panels remain in good condition.
Tips for Successful Installation
1.Safety First: Always wear appropriate safety gear when cutting and handling ACP.
2.Precision is Key: Accurate measurements and cuts are essential for a professional finish.
3.Weather Considerations: Avoid installing ACP in extreme weather conditions to ensure the adhesive and sealants cure properly.
4.Follow Manufacturer Guidelines: Adhere to the manufacturer’s instructions for specific installation and maintenance recommendations.
Conclusion
Installing Aluminum Composite Panels involves careful planning, precise cutting, and meticulous installation to achieve a durable and aesthetically pleasing result. By following this step-by-step guide, you can ensure your ACP installation is successful and stands the test of time, enhancing the beauty and functionality of your project.